Queue Setup
The setup for queues is done in the Microsoft Teams admin center. Most of the configuration settings are supported with the Mirage Teams Connector Service.
Select Voice / Call Queues
The queue setup is outlined in the MS-Teams online help. Here only differences between native MS-Teams inbuilt queue handling and the Mirage Teams Connector Service are explained.
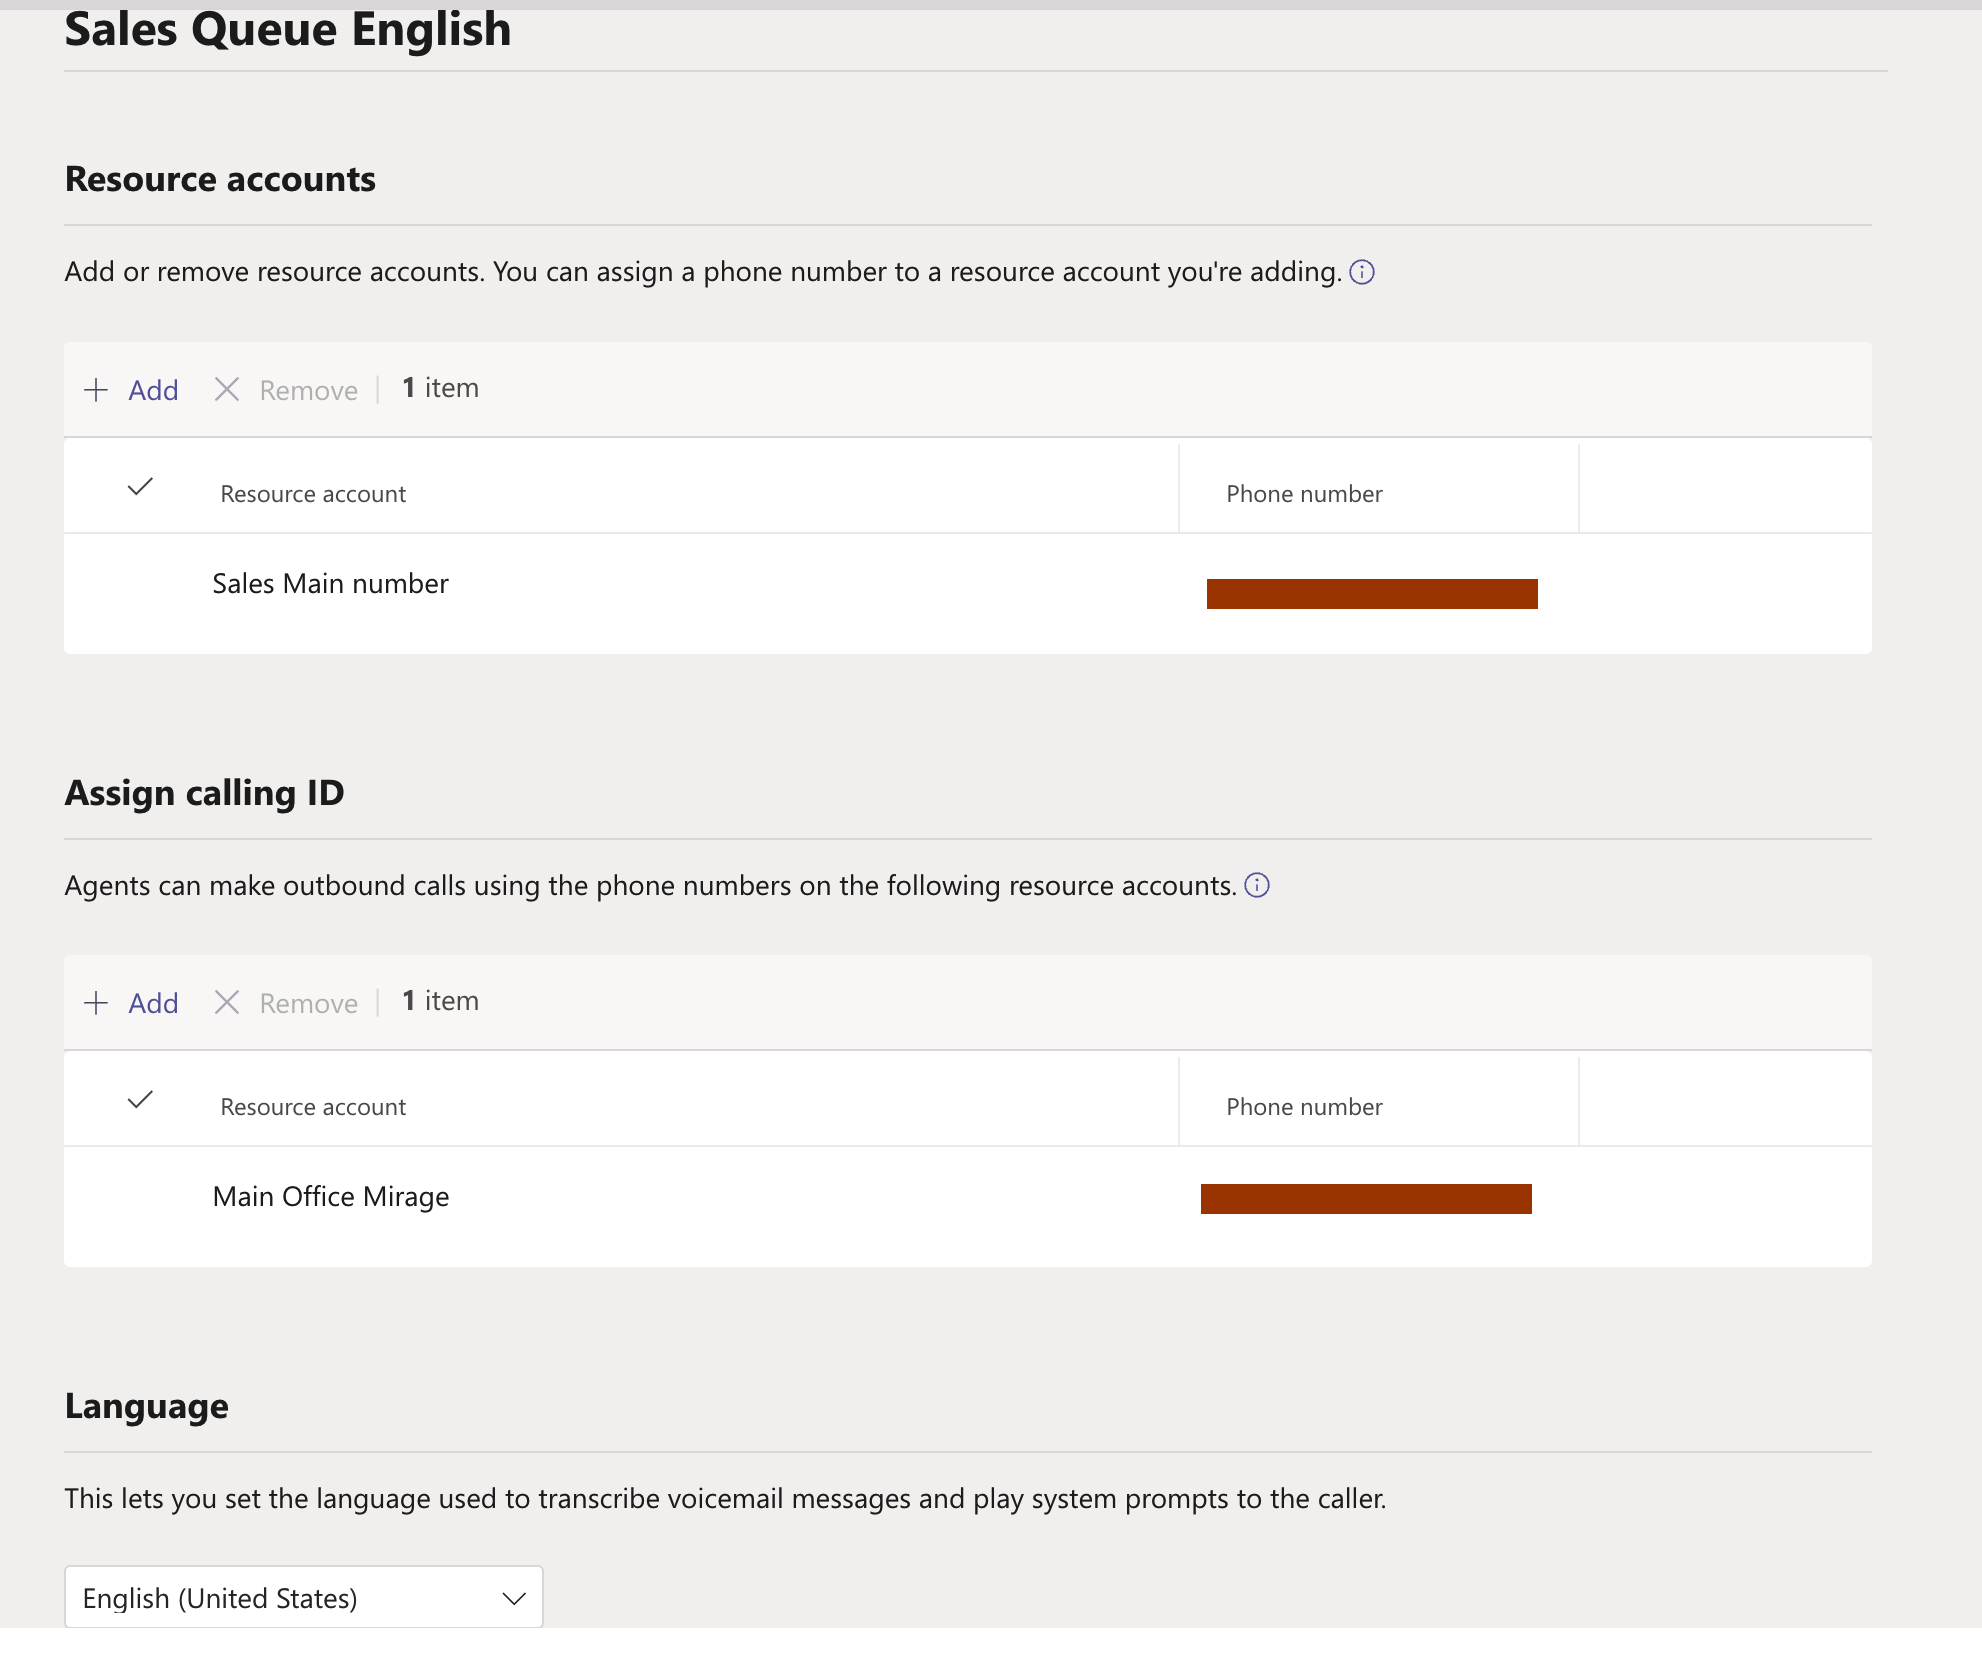
Queue Name
The queue name is visible in the CTI Data Connector SoftPhone for outbound line selection.
Assign calling ID
It is mandatory to add at least one Resource Account here. The number is then visible in the CTI Data Connector SoftPhone for outbound line selection.
Multiple caller IDs are supported.
The feature must be activated in the CTI Data Connector SoftPhone.
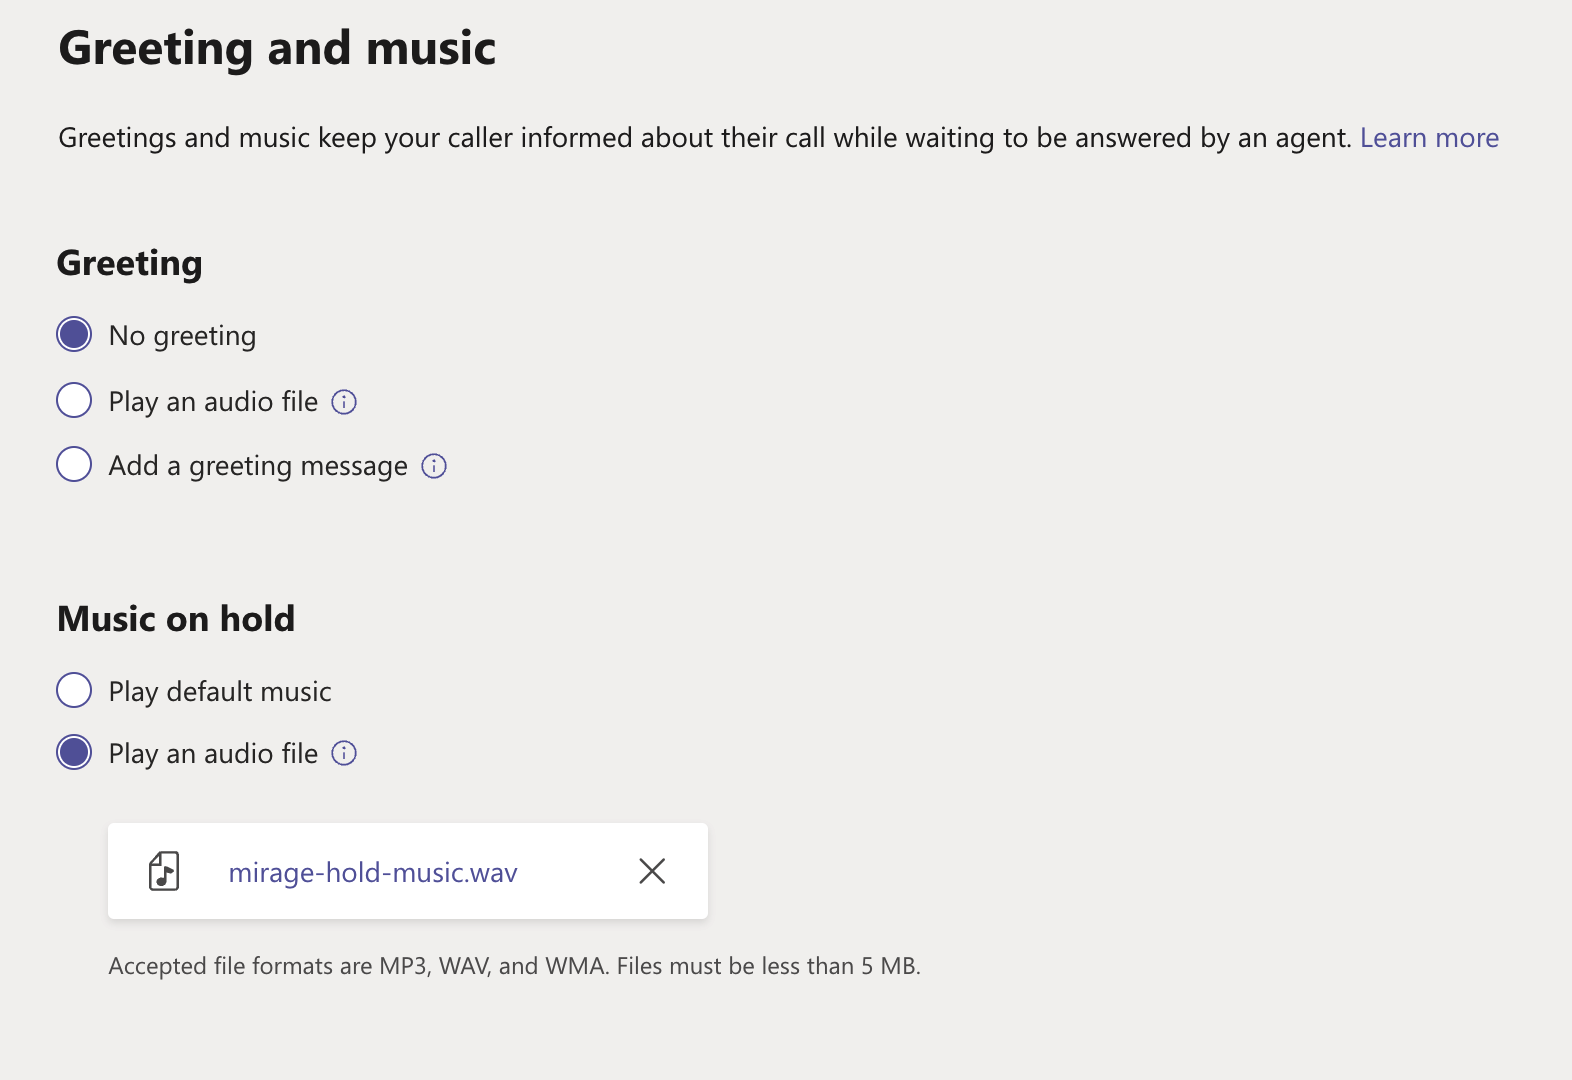
Greeting
An audio file must be converted and uploaded to Azure. A greeting message is not supported. You need to convert the greeting message to an audio file using text to speech.
Music on hold
The custom audio file must be converted and uploaded to Azure.
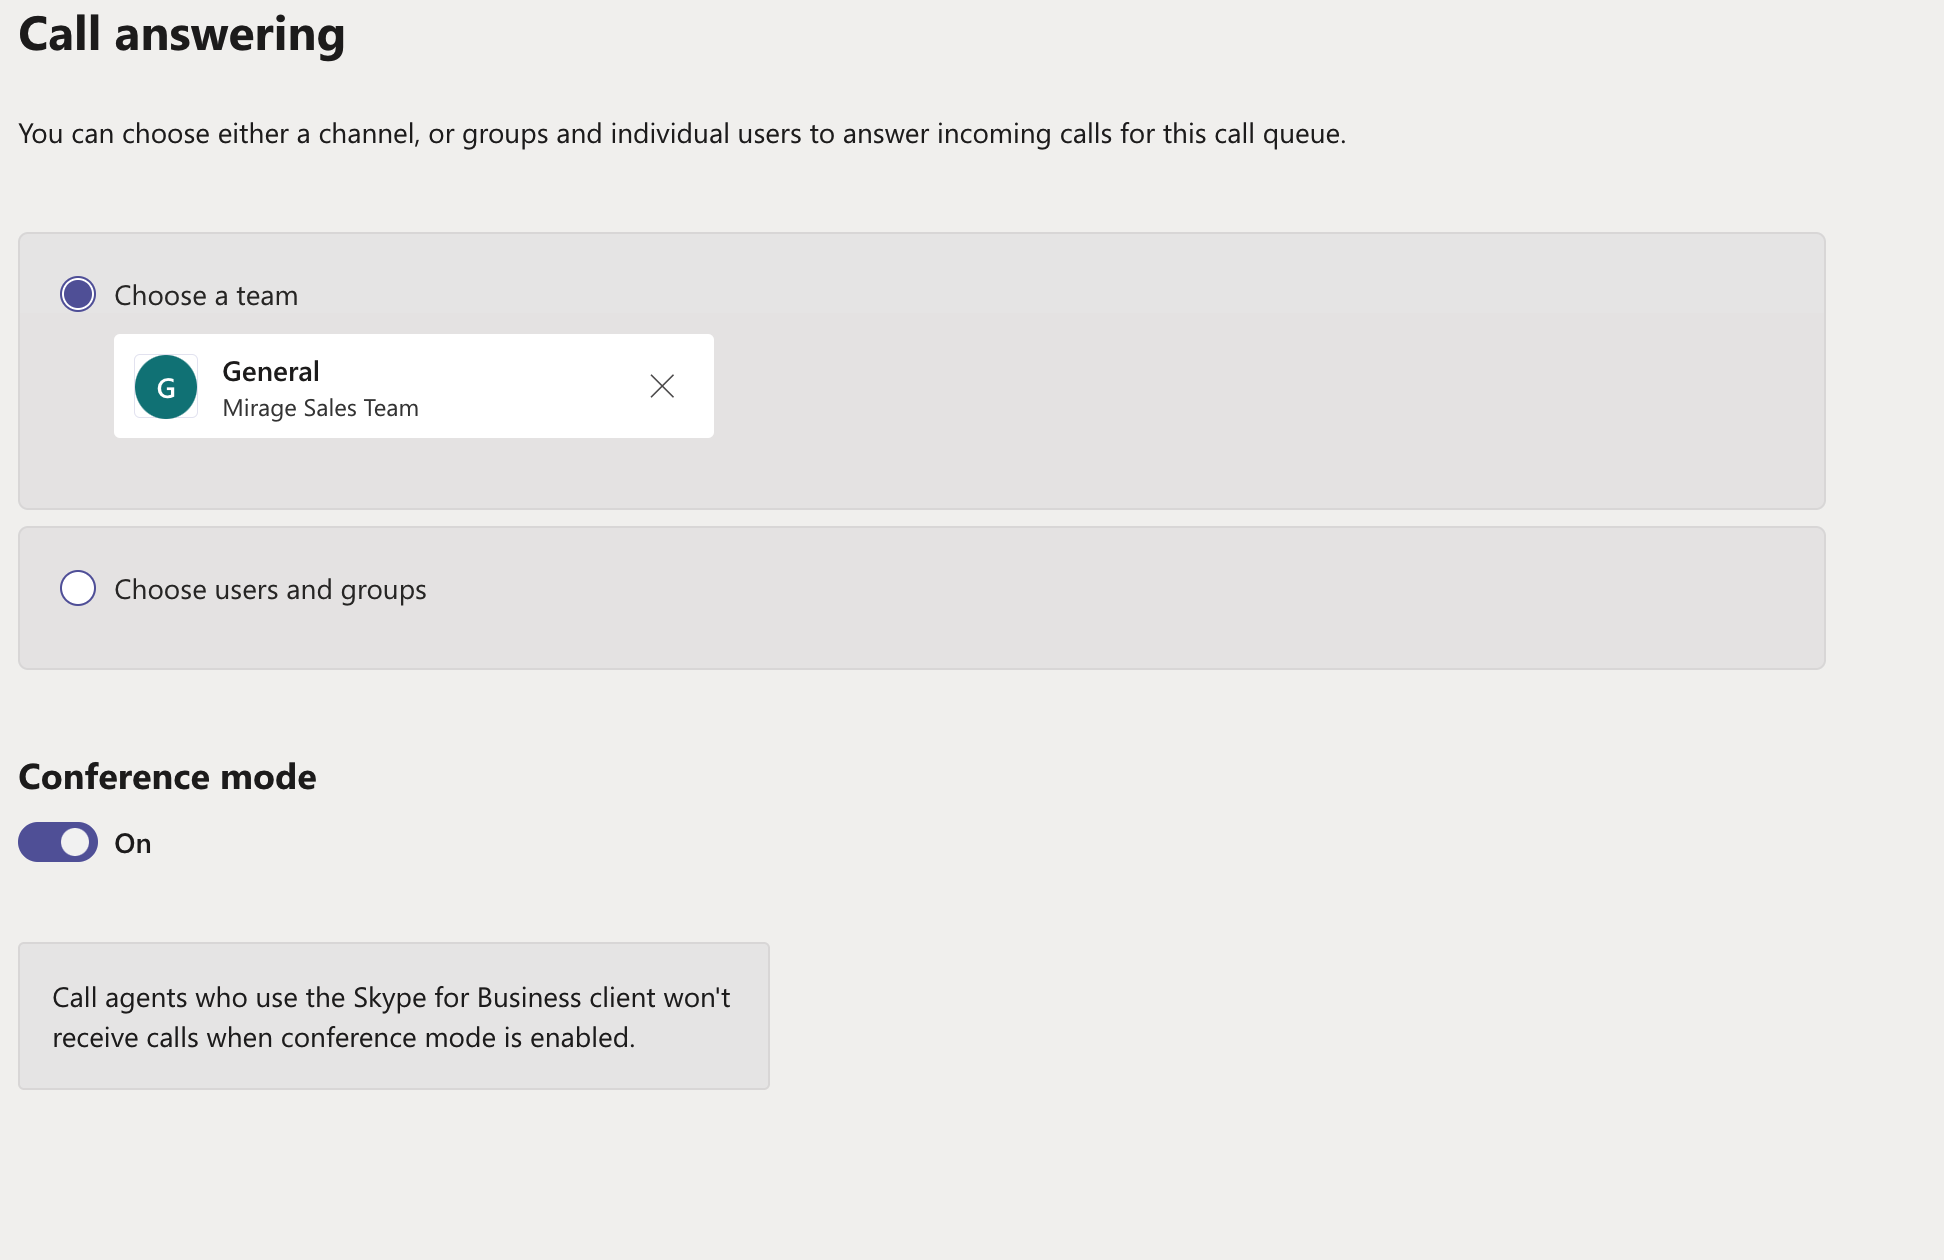
Choose a team
All options - channel, group or individual user are supported.
Conference Mode
Skype for Business is not supported
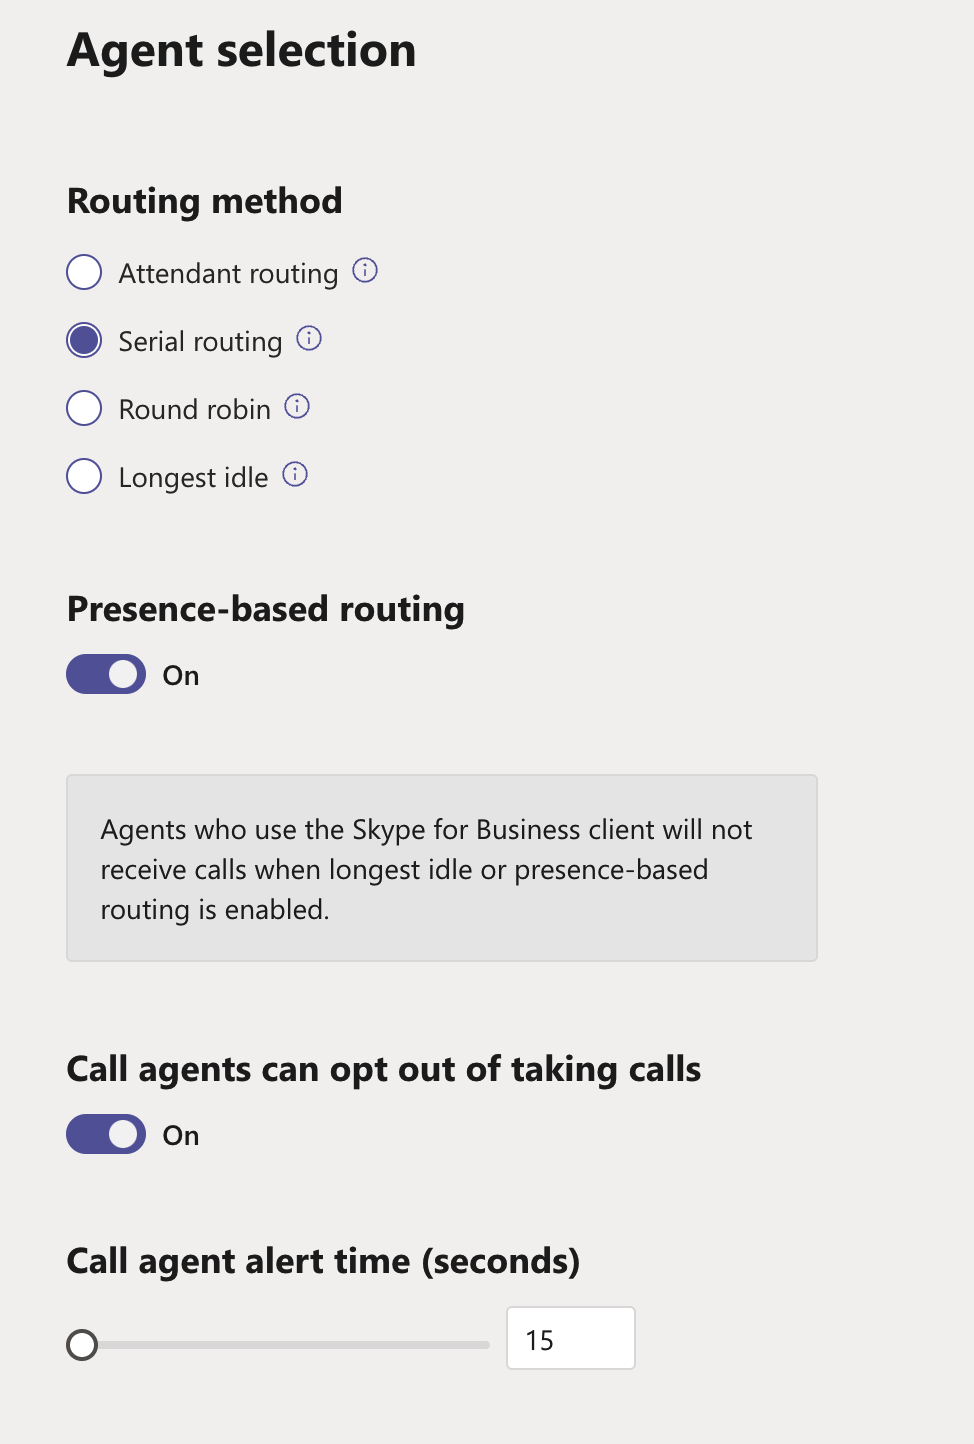
Routing method
See details about routing method
Presence-based routing
It is highly recommended to enable this option. See Presence state in queues
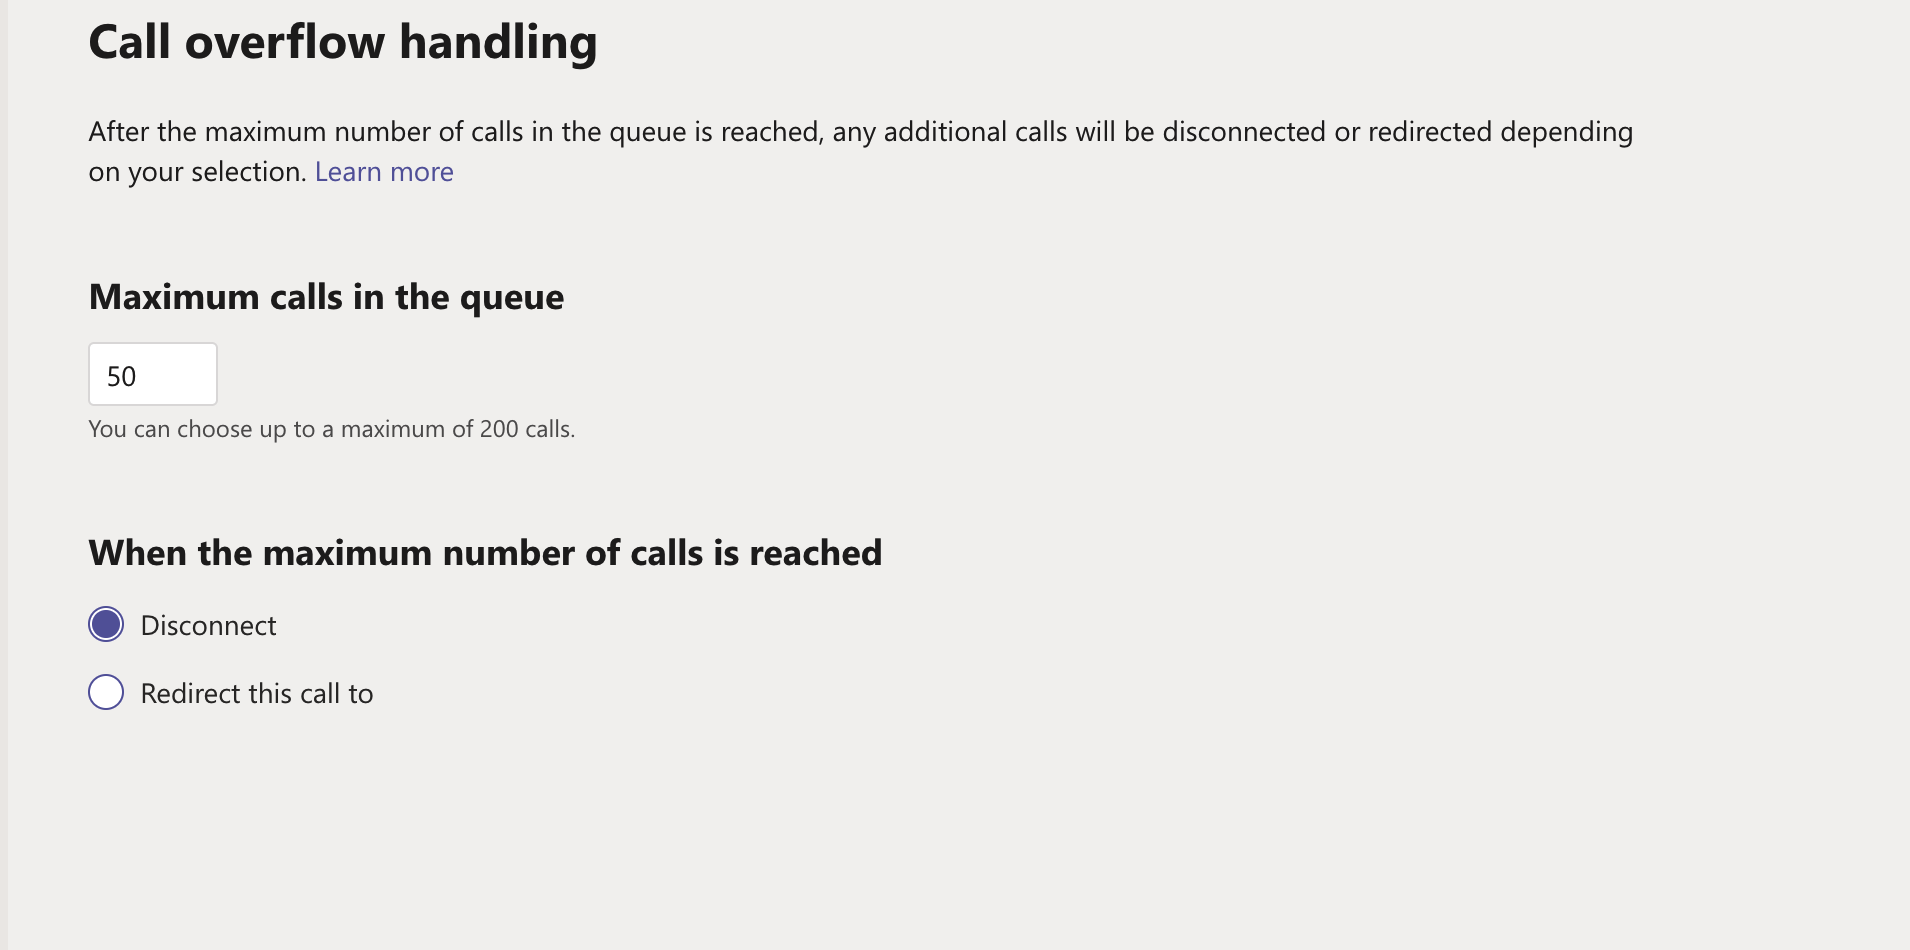
Call overflow routing is not supported. All callers will be added to the queue.
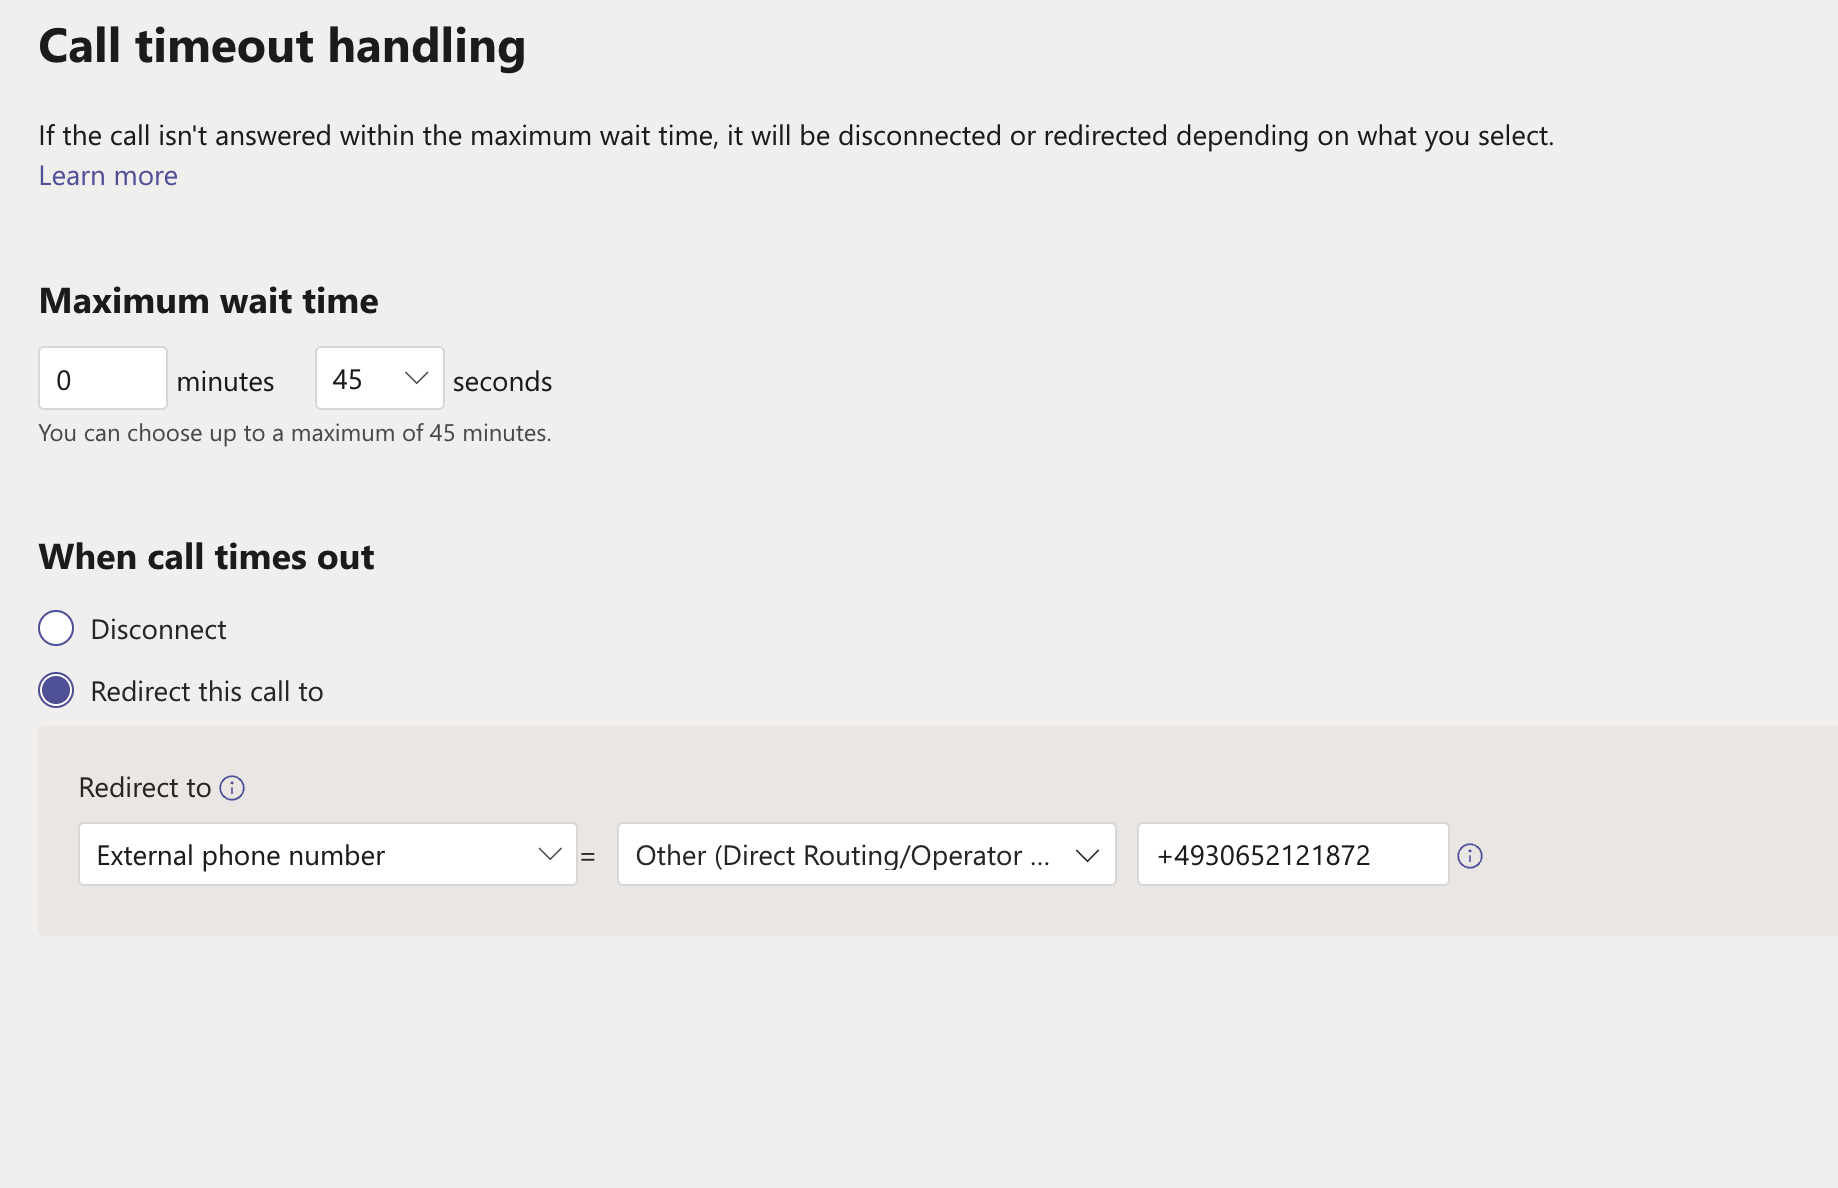
Redirect this call to
The following options for forwarding must be changed:
•For Shared Voicemail - Create a separate call queue and redirect to Shared Voicemail directly after 0 seconds. Then enter the number of the call queue for Shared Voicemail in the main queue as redirect to external number.
•Redirect call to Voice APP - use redirect to external phone number (assigned number to the resource account)