Salesforce Phone System setup for MS Teams
The Phone System setup requires the values configured in the Teams Admin Center or Azure.


General Configuration
Connection Status
If the icon is not green, click on the Edit button (see below) and then on the button Authorize.
Authentication Type
Must be: Login with Token
Active
Must be checked if the MS Teams integration should be used
Show queues in Phone Book Search
Search for call queues from the Phone Book Search in CTI Data Connector Soft Phone.
Phone Book Search
A phone book directory is available for internal calls and call transfers. The default search uses Salesforce users, while the MS Teams integration offers a search in the complete Office 365 tenant.
It is recommended to activate this feature as internal calls are possible to users without a Salesforce license.
Show queues in Phone Book Search
Phone System Setup
End Outbound Call - if not confirmed (s)
In case of an outbound call: If a user does not click on the call icon in the Microsoft Teams App to start the call, the outbound call will be terminated after around the seconds specified here. The best value is 18s.
Phone Number for Shared Voicemail
The phone number which was configured for the voicemail of a group in Microsoft Teams.
Go To Teams Admin Center - Voice - Resource Accounts
where you find the configured Shared Voicemail.
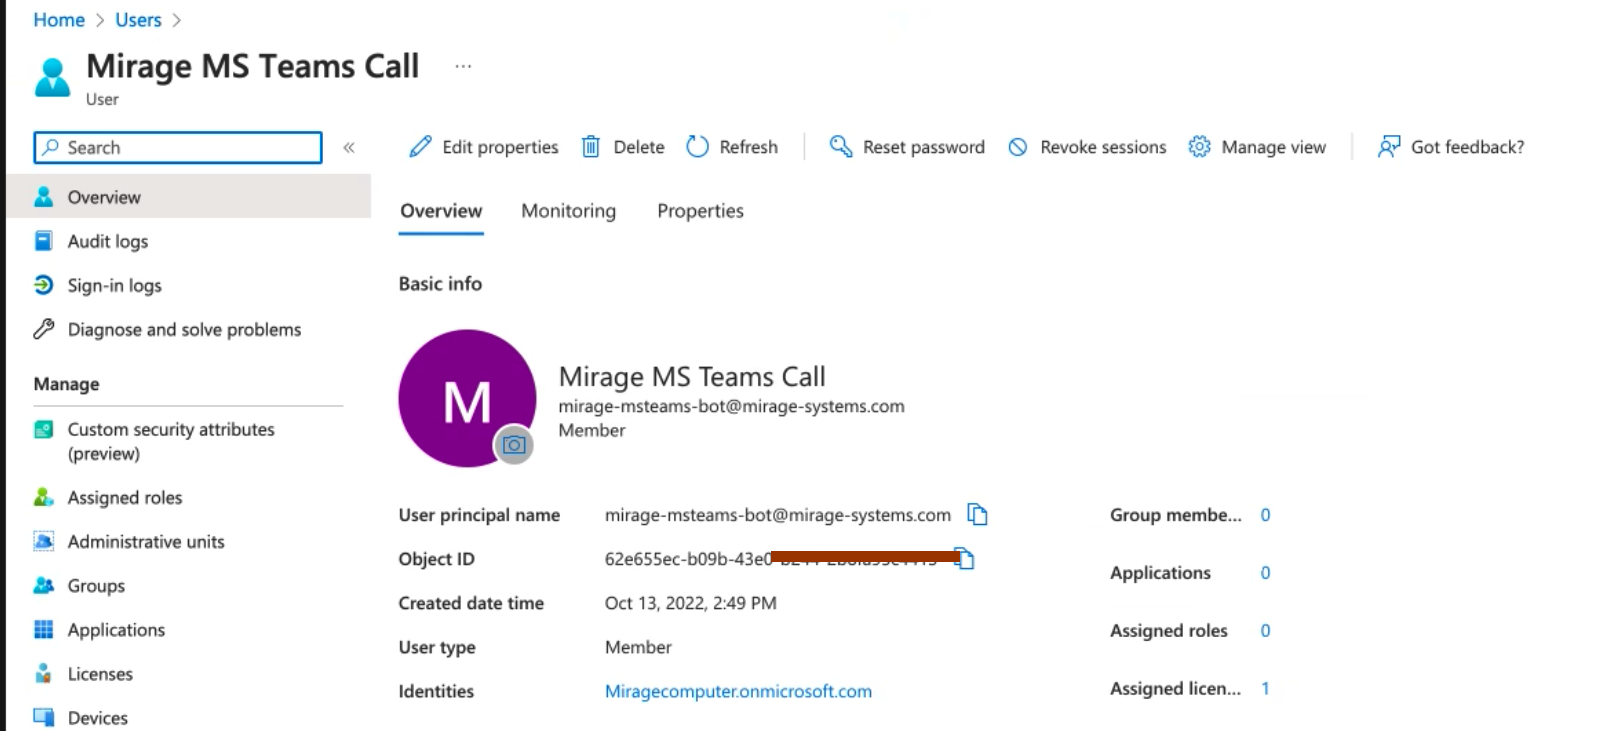
Default Outbound Resource Account ID
The Object ID configured in Azure.
In Azure go to Home - users and select the display name from the resource account - e.g. Mirage MS Teams Call
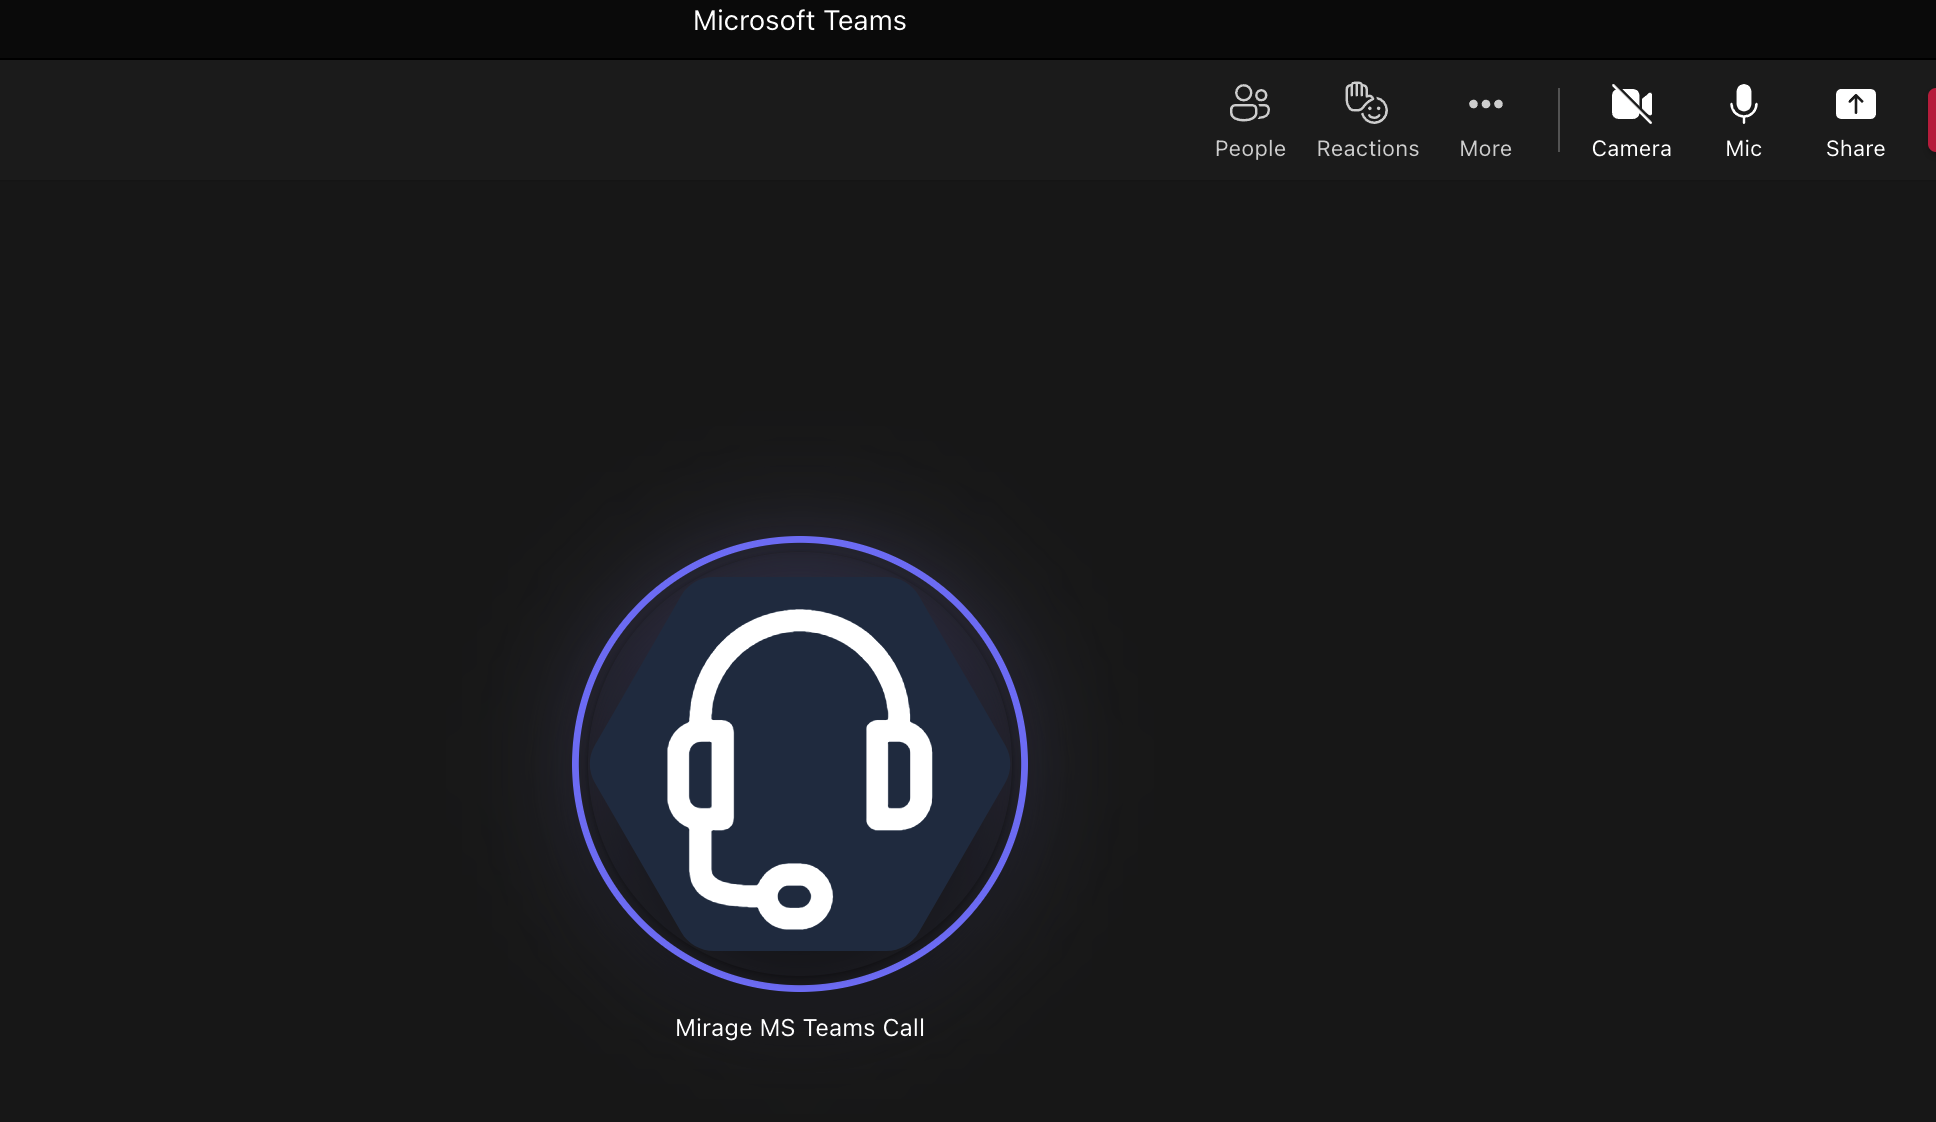
Default Resource Account Name
The name which is used for the Bot in the phone call and should match the resource account name you used when the resource account was created.
Go To Teams Admin Center - Voice - Resource Accounts

I
Default Resource Account Number
The phone number from the resource account which is used for outbound calls.
Go To Teams Admin Center - Voice - Resource Accounts
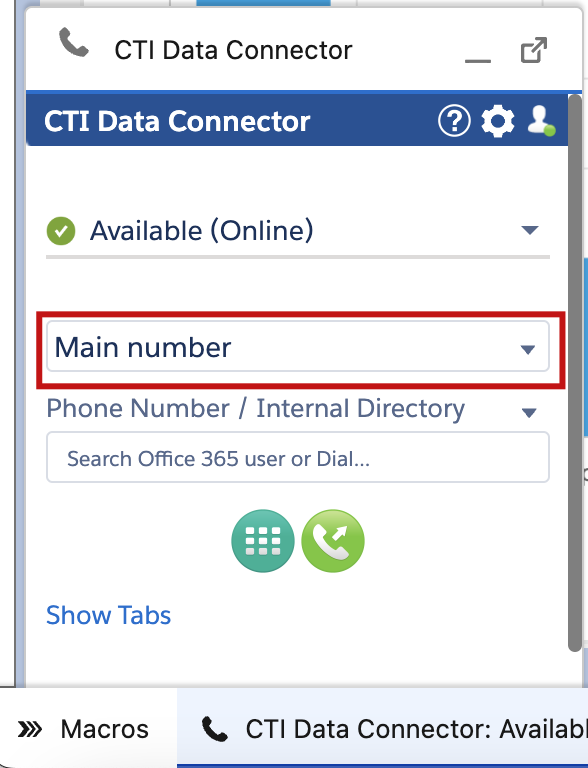
Do not show main number
If activated, it will hide the Main Number option from the dropdown.
Edit Button - Connect with Azure
You first need to fill out some required fields before you can Authorize with Office 365.
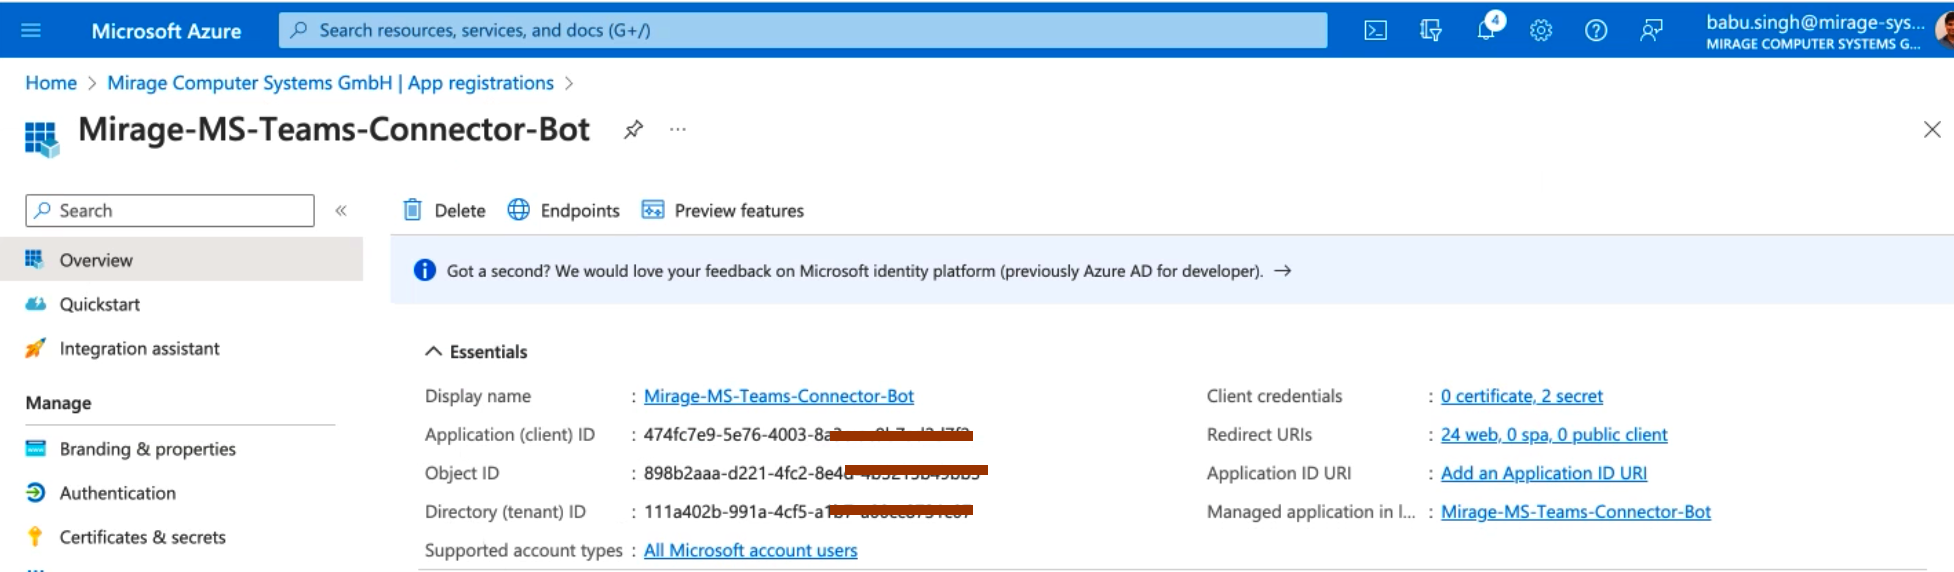
Client ID
Add the Application (client) ID
Go to Home - Azure Active Directory - App Registrations and select the Mirage app
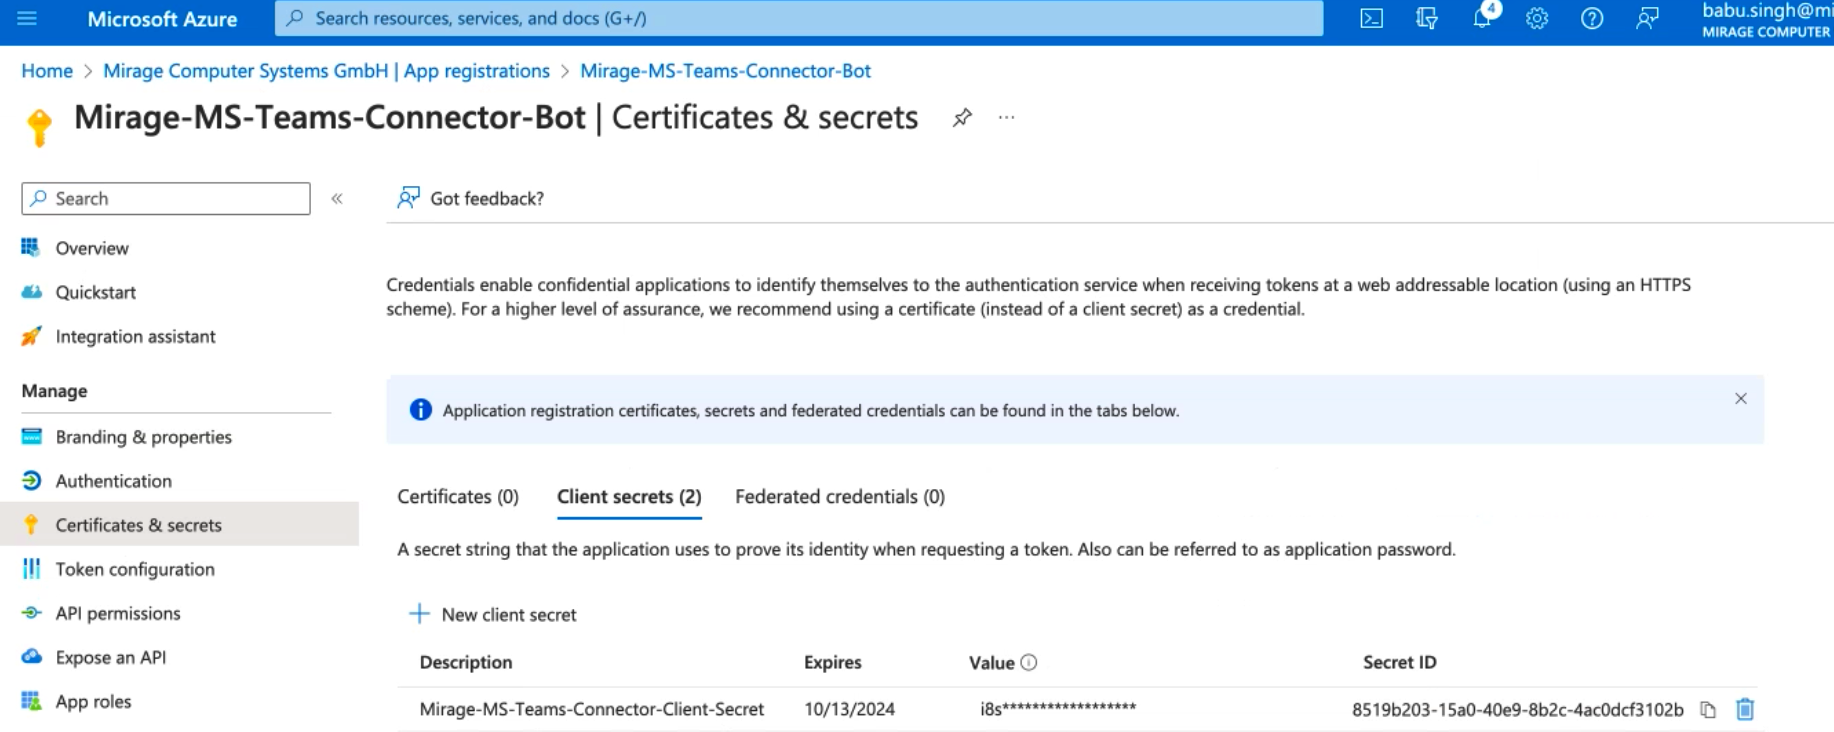
Client Secret
Go to Certificates & Secrets where you find the generated key. You need the value.
The client secret is visible one time when the key was created.
Tenant ID
Directory (tenant) ID
Go to Home - Azure Active Directory - App Registrations and select the Mirage app
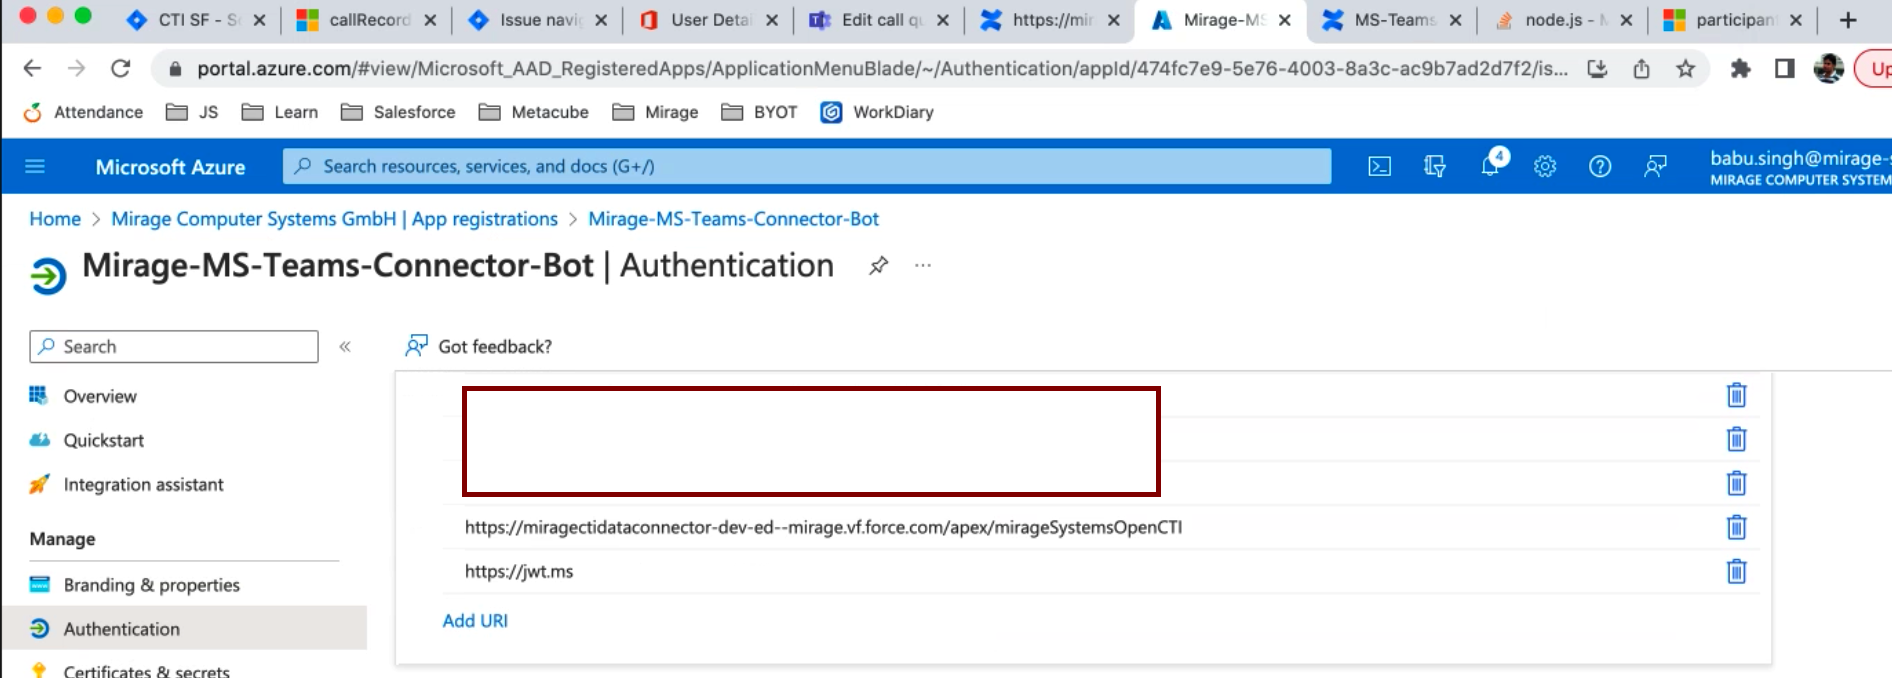
Redirect URI
This value is automatically generated.
Go to Authentication and add the URI
Authorize
The authorization can only be done if your are MS Teams administrator.
After clicking on the button Authorize, you have to login with your Office 365 Admin credentials

After the authorization was successful, click on SAVE button.
